Showing posts with label Gluten-Free. Show all posts

Friday, June 7, 2013

GF Vegan Hamentaschen (Cookies!)

What do you get when a cookie and a pie cross paths? Hamentaschen! It's a pocket-filled cookie traditionally enjoyed with an orange poppy seed filling on the Jewish holiday of Purim. 

Holiday's aside, it looked and sounded delicious so I thought I'd try to create a modified version using a homemade gluten free flour mix. Ever since I have been dying to post this recipe! This is a NEW and total keeper in my recipe book. I had to put them in the freezer because I can't keep my hands off them. :)

The best part is, you can mix it up and have a wondrous time creating the most satisfying delicious dessert. It makes a very large portion so they would be great for parties! I can't wait to make our next batch. No sugar, no preservatives, all homemade from scratch! 
 
 Roll out the dough and use a glass to make round circles
 Place round cookies on prepared cookie sheet, add filling and pinch sides to form a triangle
(I need parchment paper, but I always suggest using what you have on hand)
  Bake for 14-15 minutes, until edges are golden brown
 Enjoy each and every bite!
Try variations!
 

Ingredients:
  • 3 "eggs" (Flax w/warm water)
  • 1/2 cup stevia
  • 1/4 cup brown rice syrup
  • 3/4 cup oil (I used sunflower - any vegetable oil will work)
  • 1 tsp baking powder
  • 1 cup quinoa flour
  • 1 cup brown rice flour
  • 1 cup almond flour
  • 2 tsp cornstarch
  • 1 tsp xanthum gum
  • 1-2 tsp vanilla 
  • Filling: Any pie filling, jam, jelly, nutella, chocolate chips etc!
Directions:
  1. Preheat oven to 350 degrees
  2. Mix "eggs", stevia, brown rice syrup, oil and vanilla in large bowl.
  3. Add flour and baking powder until dough forms, ensuring not to over mix.
  4. Roll out the dough on a floured surface. 
  5. Use a drinking glass as a cookie cutter to make 30+ cookies!
  6. Place round cookies on prepared baking sheet
  7. Fill each with a good sized dollop of filling and pinch the 3 ends to make a triangle shape.
  8. Bake for 14-15 minutes until edges are slightly browned. 
 
Try not to eat all at once - they are that good!!!


Don't forget to like me on Facebook!

Buy my book today! ON SALE!!!

Check out my website!

Wednesday, May 29, 2013

JJ's Patties - Veggie Burgers packed with nutrition!

Veggie burgers are a staple in our home. I used to buy them at the store and then started experimenting with making them at home. I love making them because they are very forgiving plus it's really easy to mix up the ingredients and come up with many variations!

"JJ's Patties" were inspired with my step-son in mind, focusing on good digestion and high nutrition. The smell and taste are irresistible and Jerry and I can't help but eat one or two.  JJ will look at our plate with a look indicating "what do you think you are doing?" haha! Therefore...they are JJ's Patties!


Ingredients:
  • 1/2 cup flax meal 
  • 1 1/2 cup warm water
  • 2 pckgs Tempeh
  • 4 carrots - peeled
  • 2 leaves chard - de-stem
  • 1 cup broccoli
  • 1 cup red cabbage
  • 2 cups kidney beans (pre-cooked)
  • 1/2 cup fresh basil leaves
  • 1/2 cup fresh parsley
  • 3/4 cup oregano
  • 1 onion (feel free to use 1/2)
  • 6 cloves garlic
  • 1 tsp cumin
  • Salt & Pepper to taste
  • 1/4 lemon - squeezed
Directions:
  1. Mix flax meal and warm water with fork. Set aside to form egg substitute.
  2. In a food processor chop the tempeh, vegetables, beans and fresh herbs. 
  3. Pour the chopped ingredients into a large bowl. Add the egg substitute and kneed the mixture to form a dough mixture. 
  4. Refrigerate for an hour +.
  5. Form a patty. Tip: I use the top to a mason jar to form a circular patty shape.
  6. Preheat oil in a pan or try oil free and preheat water or vegetable broth in a pan over medium-high heat.  
  7. Once the pan is hot, add patties and cook for 5-10 minutes. 
  8. Reduce heat to medium and cook until the bottom is nice and brown.
  9. Flip and cook for another 10 minutes+, until desired consistency.
I typically pre-cook all of the patties and then freeze the extras so I have them on hand for any occasion. Use your favorite toppings and throw it on a bun, lettuce or enjoy as is!

Toppings used above:
Sliced Red Onion
Sliced Tomato
Sliced Avocado
Sliced Jalapeno
Salt, pepper, red pepper flakes to taste
IT WAS THE BOMB!

Like me on Facebook!

Tuesday, May 28, 2013

Super-grain Quinoa Pizza Crust

I've always loved pizza but don't always like the way I feel after eating it. I decided to create a gluten free crust with out yeast or oil. The secret? The magical zucchini! The zucchini is the secret as it locks in the moisture. This pizza crust is a great starter for many fun creations. It's super quick and easy! Plus it will leave you filling full, satisfied and recharged!


Fun insight: Quinoa dates back thousands of years ago. It "was the gold of the Incas" and is a complete protein rich in all 9 essential amino acids with twice as much fiber as other grains. Not only that but it's high in iron, magnesium, manganese, lysine and B2! Every time I eat quinoa my body feels incredibly satisfied. I can instantly feel the benefits and it always leaves me coming back for more!


Mmmm, Pizza!!!!!
Flippin' delicious and you don't feel weighed down! YES! 


Prep time: 10 minutes  Cook Time: 25 minutes  Total Time: 35 minutes
Ingredients:
  • 1 shredded zucchini
  • 2 cups quinoa flour (ground quinoa)
  • 1/2 cup water
  • 1/2 tsp garlic salt
  • 3 cloves garlic
  • Dash of: Oregano, thyme, rosemary, basil, fennel, cumin, pepper and red pepper flakes. 
Directions: 
  1. Preheat oven to 375 degrees. Coat baking sheet or pizza stone with olive oil.
  2. Mix everything together in a large bowl until evenly combined. Kneed the dough.
  3. Place onto prepared pan or stone.
  4. Bake for 10 minutes or until edges start to brown.
  5. Prepare toppings while in oven 
  6. Remove and place favorite toppings on pizza (have fun!)
  7. Bake 10-15 minutes
Toppings I used?
  • 2 tomatoes sliced
  • 3 slices red onion
  • whole basil leaves
  • dash of garlic salt, pepper, oregano, rosemary and red pepper flakes. 
  • Opt for oil free or add a tiny drizzle of olive oil and balsamic vinaigrette. 

See the heart? I picked fresh basil leaves from the garden and noticed the beautiful surprise upon cleaning the leaves. It looks like a critter ate it's heart out - literally! :) 

Bon Appétit!


Tuesday, May 21, 2013

Jerry's Nuts 'N Berry's!

Today is National Strawberries and Cream Day. What a better way to start than with my husband's creamy strawberry dessert. I've asked and received permission to share his secret recipe. He honestly would not even share it with me for the longest time so this is huge! Haha :)

He created this magnificent dessert that is so creamy and delicious, and just like ice cream only better! The best part is it's made with whole-food ingredients that are good for you! Raw, vegan, soy-free, gluten-free, dairy free and almost guilt free!

The secret? It's like making a protein shake with less water and protein!

The hardest part...is not eating it all in one sitting!
Jerry's Nuts N' Berry's!

It's like a dream!

Ingredients: 
  • Small handful of almonds
  • 4 oz filtered water
  • 2 1/2 cups strawberries
  • 1 cup or big chunk of pineapple (or use an extra 1/2 c strawberries)
  • 1 banana (makes it really creamy)
  • 1 scoop protein powder (optional, we used SPIRU-TEAN)
  • 6 dates
  • Opt: Extra handful of raisins and almonds 
Directions:
  1. Place almonds in high speed blender.
  2. Add filtered water.
  3. Add balance of ingredients less the extra handful of almonds and raisins.
  4. Pulse and use a spatula to mash the mixture down.
  5. Keep pulsing and mashing, pulsing and mashing, pushing the bigger items to the bottom towards the blade.
  6. Keep working it until it makes a cold sludgy ice cream. 
  7. Add the extra handful of raisins and almonds for texture and pulse a few times.
  8. Freeze for 30 minutes if you can wait that long and dig in! Freeze balance if you have any leftovers haha! :)

Monday, May 20, 2013

Spicy Kale Quinoa Crustless Quiche

Today is National Quiche Lorraine Day so I thought what better way to honor it than with a homemade quiche. Growing up my parents always made quiche for special occasions. Every Christmas or Thanksgiving my mom and or dad would wake up early to prepare the meal and with it, a quiche! With the leftover crust my mom would make cinnamon rolls that were to die for!


After becoming vegan I thought my quiche days were over, well fear not! This is a homemade quiche that is soy free, oil free, gluten free, nut free, dairy free (no eggs or cheese) is packed with quinoa, herbs and fresh vegetables! 


A low calorie, intensely satisfying meal! I will definitely be making this again, I can't wait to explore variations!


 Take some Qunioa and grind to make a flour
Take some local organic fresh produce
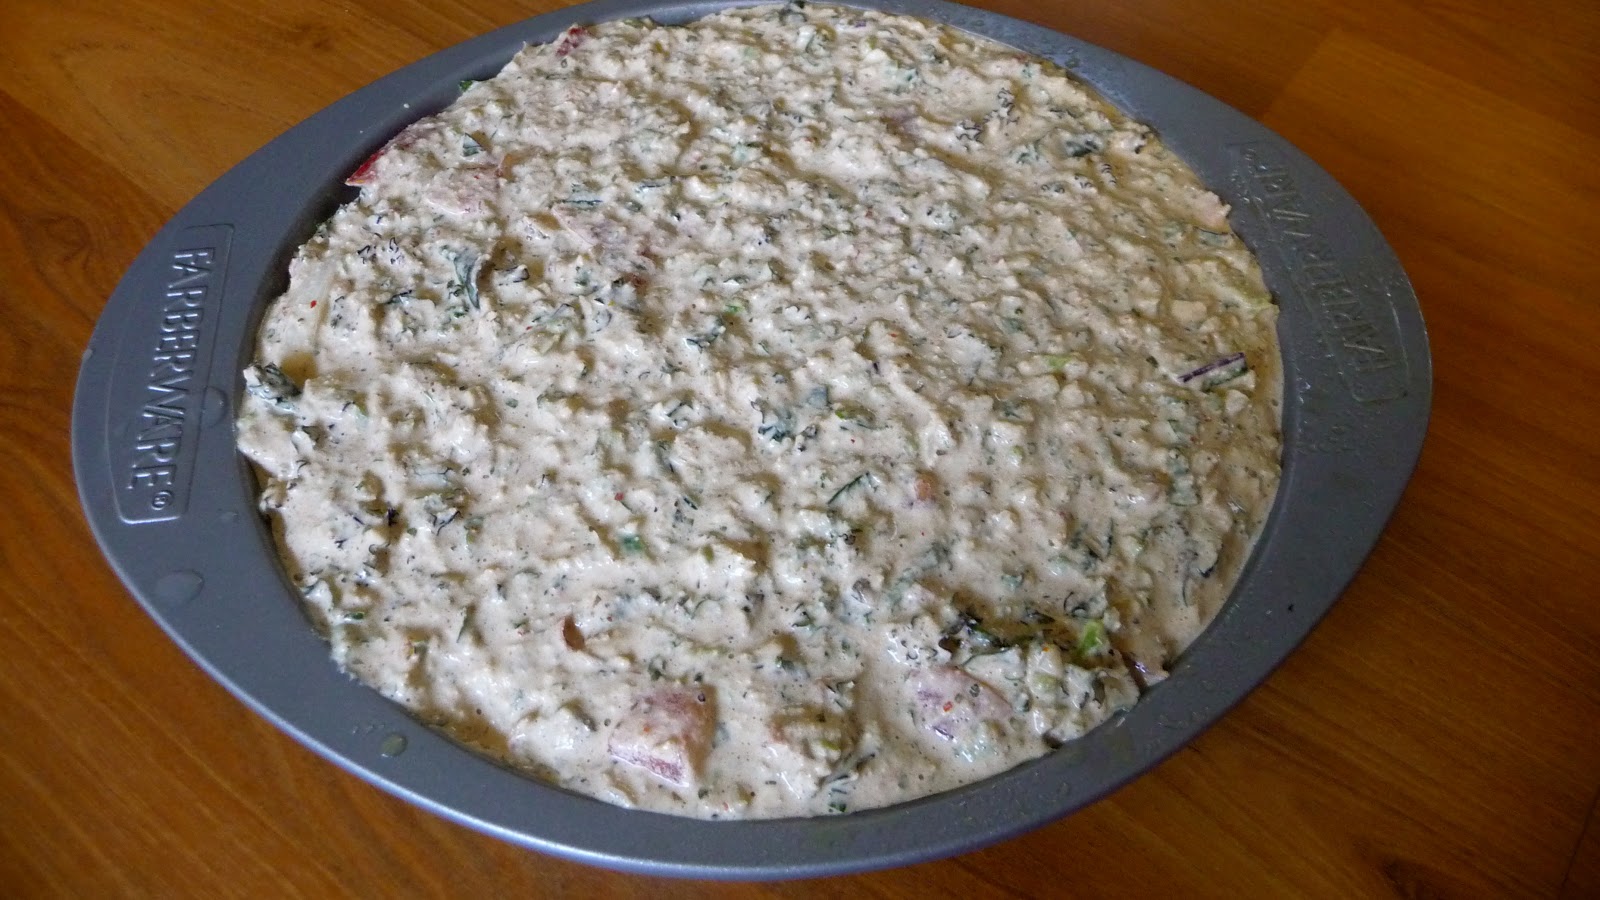
 Combine the quinoa mixture and vegetables...looks funny but have faith!
 Try to wait as the aroma fills the entire house with glorious scents!
 And wallah! The most unbelievable quiche that is so good for your body!
YUM!


Ingredients:
  • 4 cups loosely packed kale - de-stemmed and chopped
  • 2 + tomatoes, chopped
  • 1 jalapeno, chopped
  • 1/2 large white onion, chopped (Red if you have it!)
  • 1 green bell pepper, chopped
  • 6-10 cloves garlic, minced ( haha we love it, feel free to cut back )
  • 1 avocado 
  • 1/4 cup cilantro
  • 2 cups quinoa flower
  • 2 tsp ground cumin
  • Salt (opt), pepper and red pepper flakes to taste
  • 2 1/2 - 3 cups of water
Directions:
  1. Preheat oven to 475 degrees. Lightly oil a 9" spring loaf or cake pan. 
  2. Prepare vegetables using 6 of the 10 garlic cloves and cilantro. (I chopped the kale and tomato with my knife, the balance in the food processor.) Place chopped vegetables in a large bowl, set aside. 
  3. In blender combine the flower, spices and water. Blend until smooth and frothy.
  4. Use a spoon to combine the quinoa mixture with the vegetables. Pour into prepped pan.
  5. Bake for 40-50+ minutes until the top is brown and a toothpick comes out clean.
  6. Allow to cool slightly, slice, garnish with an avocado and dig in!